Configuration of Microsoft Entra ID (formerly Azure AD)
The external identity provider must be configured as well to work together with the Pubserver. The exact steps required depend on the provider you use. Here we show some of the steps registering a Pubserver with Microsoft Azure Active Directory as an example. Please refer to the documentation of Microsoft Entra ID or the external identity provider you need for more details and up-to-date information.
Log in to the Azure portal, go to Microsoft Entra ID (formerly Azure Active Directory), Enterprise applications and there to Application registrations:
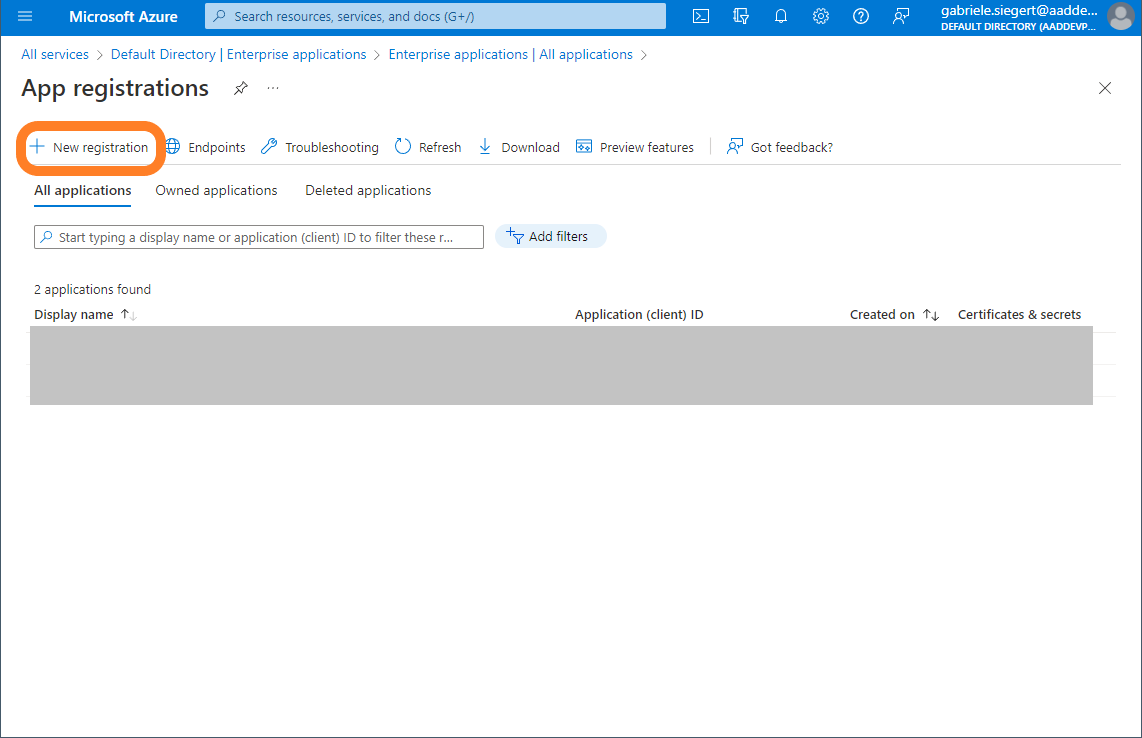
Use the button New registration.
In the following screen add a name for the registration. If you are planning to register more than one Pubserver, use an intelligent name.
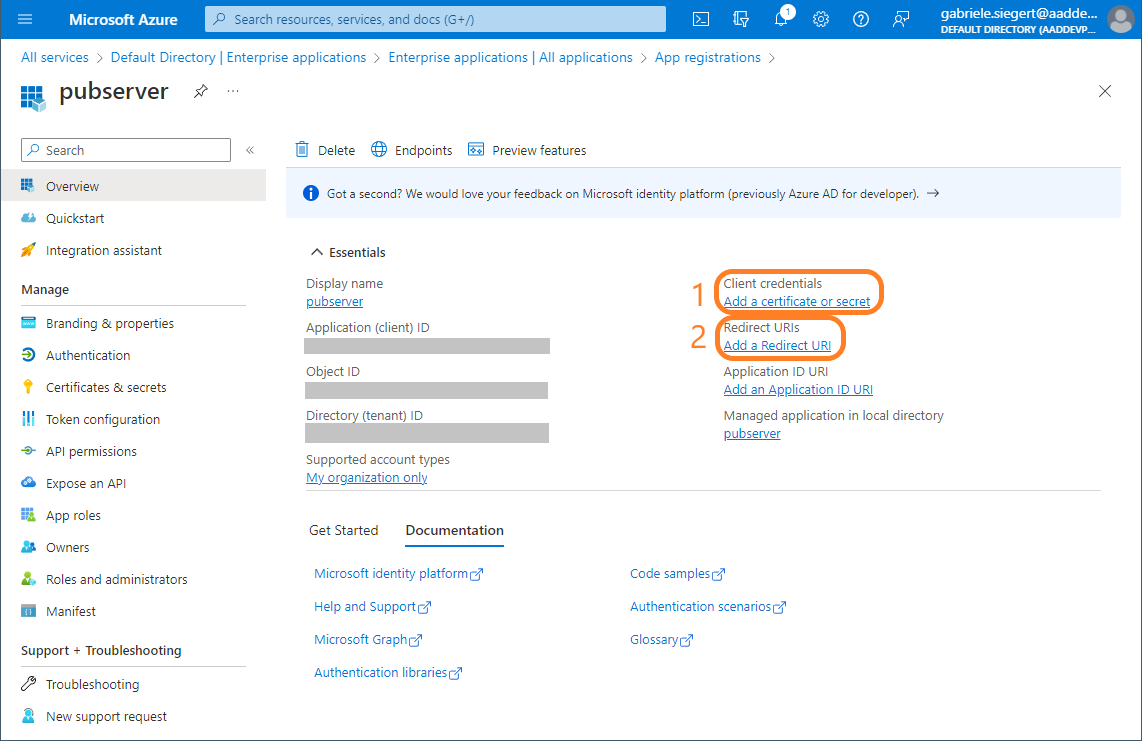
You must add a client secret (1) and a redirect URI (2).
Add client secret:
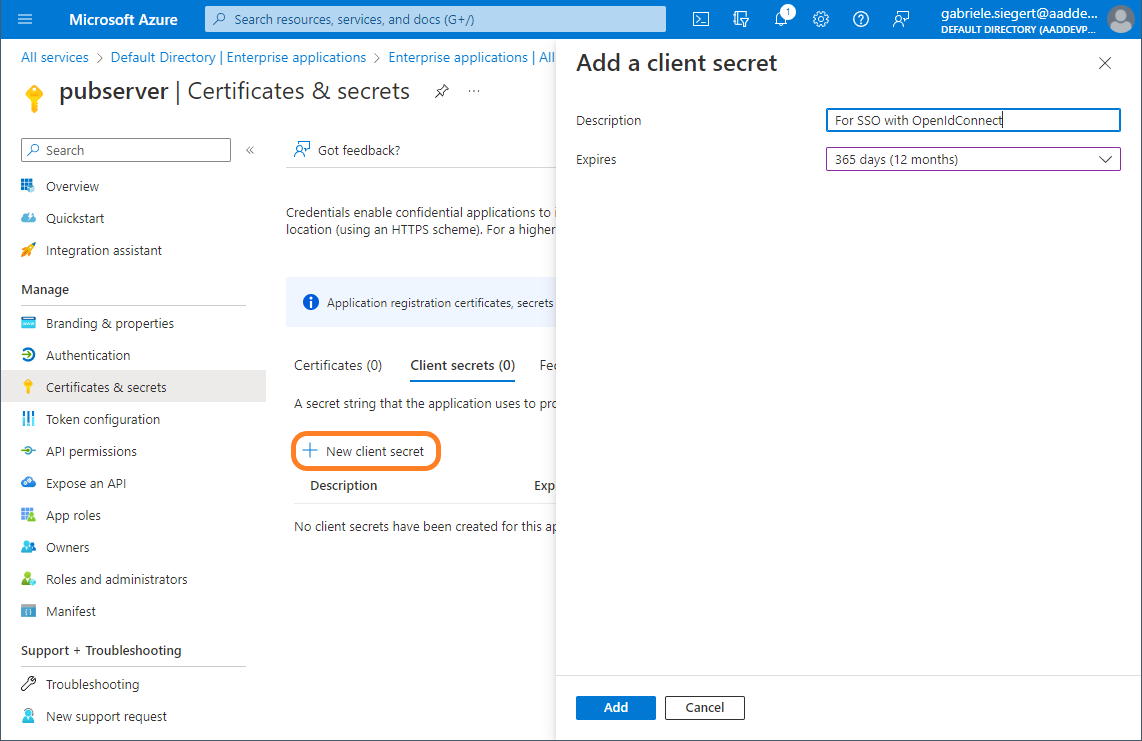
After filling the field and clicking Add, you see and copy the secret:
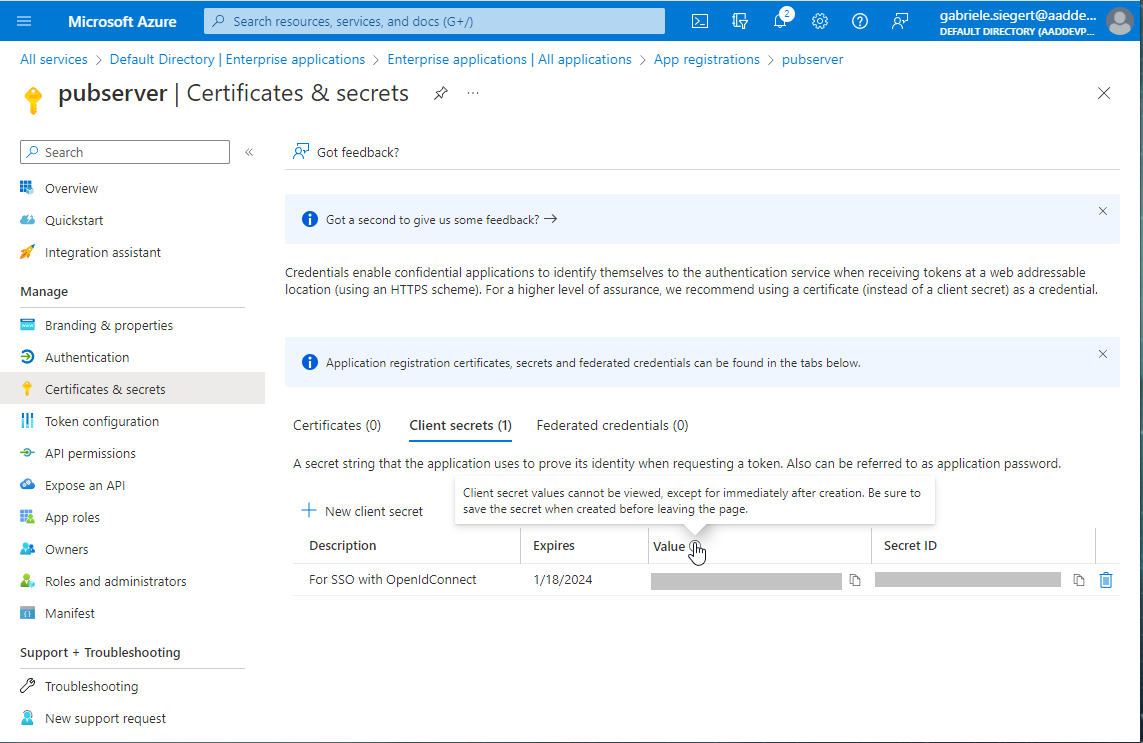
Make sure you save the secret before you leave this page, since there's no way to get it again!
Then a redirect URI must be added.
Add a Web Redirect URI of the following form:
https://your_server:your_port/auth/callback?client_name=realm_name
Open ID Connect will only work as expected if you added the correct URI here.
AuthService configuration
To configure AuthService you need to take following steps:
a) stop Pubserver
b) edit {your_pub_server_root_folder}\glassfish\payara6\glassfish\domains\pubserver\config\AuthService\config.xml file
and add a new entry into the realms section. Please adjust the specific mappings and dynamic rules according to your project needs.
<realm name="azure-ad-priint">
    <type>org.pac4j.oidc.config.OidcConfiguration</type>
    <discoveryURI>
        https://login.microsoftonline.com/b6228f6f-4d3d-49c4-8d68-3c1b1705f9b6/v2.0/.well-known/openid-configuration
    </discoveryURI>
    <clientId>your_client_id_here</clientId>
    <secret>your_secret_here</secret>
    <useNonce>false</useNonce>
    <usernameAttribute>preferred_username</usernameAttribute>
    <emailAttribute>preferred_username</emailAttribute>
    <displayNameAttribute>name</displayNameAttribute>
    <membershipAttribute>wids</membershipAttribute>
    <membershipMapping>
        88d8e3e3-8f55-4a1e-953a-9b9898b8876b:Admin,b79fbf4d-3ef9-4689-8143-76b194e85509:Designer
    </membershipMapping>
    <defaultDataset>DefaultProject</defaultDataset>
</realm>
discoveryURI - this URI should be changed according to your installation, for example host/ip, port, realm name (here AuthService) clientId - name of the client you created secret - you can copy it from Client detail's "Credential" tab
c) start pubserver
You can read more about Authservice configuration here: AuthService Configuration